Total Pageviews

Wednesday, August 29, 2012

::DIY TRIVET THAT WON'T LEAVE A DIVOT IN YOUR WALLET::


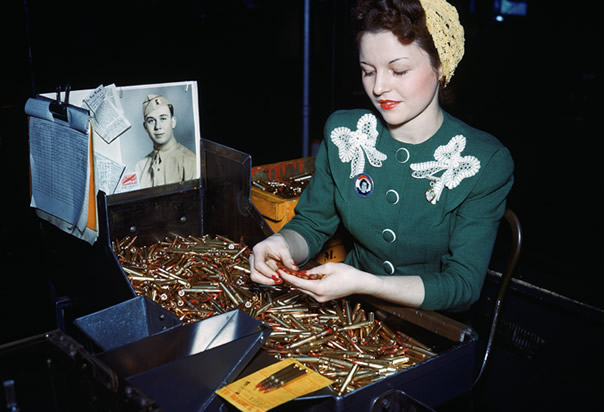
Connie as a young woman inspecting bullets during WWII The Big One!


What You Need:


  • A piece of 1"x1" square dowel or trim
  • dowels approximately the thickness of a pencil or hot dog/marshmallow stick summer clearance end caps (You can find these at discount and dollar stores where you can purchase a bag of 10-15 for $1.00 or less)
  • Power drill (cordless or corded, it doesn't matter) with a drill bit the size of your dowels/sticks
  • Wood glue
  • Ruler

  1. Cut your 1"x1" to your desired length (cut two).  Ours were approximately 10 inches.
  2. Place the two pieces of 1"x1" side by side.  Using your ruler, measure in and mark 1 inch from each end.  Next, divide the remaining space equally (ours were about 1.5 inches apart after we measure in the initial 1 inch).  Of course, if you want lager pieces or more dowels there is plenty of customization on this project.
  3. Using your drill, drill holes partially through the 1"x"  square dowel at the marks you made. (Before using your drill, measure approximately 1/2 inch up the drill bit and wrap a piece of masking tape around it.  This will serve as your depth guide to ensure all your holes are the same.)
  4. Take your dowels and cut them into equal lengths depending on how wide you want your trivet to be.
  5. Next, fill each hole on one of the 1"x1" pieces with a dollop of wood glue.
  6. Press each of the dowels into the holes.
  7. Repeat Step 5 on the second 1"x1" section.
  8. Secure the completed trivet with a large rubber band or twine to brace the pieces while it dries.
You can customize your trivet by staining (NOT painting) the dowels any number of shades before assembly.  You can use traditional stain, food coloring, colored inks, etc.  

In spite of all these directions they are super simple to make and make great presents!


Wednesday, August 15, 2012

MEAL OF THE MONTH: AUGUST

EX- WIFE'S CHICKEN FRICASSEE

1 whole chicken or equivalent amount of boneless chicken
1 onion
2 stalks of celery
1/2 stick butter
3 generous tbsp flour
1/2 light cream
1/2 tsp lemon juice
salt and pepper to taste

Boil chicken gently with the chopped onion, celery, salt, and pepper for 1 hour.  Remove chicken from broth and reserve.  Once cool, debone if necessary and shred.  In large skillet, melt the butter and sprinkle in the flour.  Stir until smooth over a medium heat.  Mix the cream and 1 2/3 cups of reserved chicken stock (water used to cook the bird) in a separate container.  Sprinkle salt and pepper over the roux, stirring constantly.  Slowly pour the cream/broth mixture into the roux continuing to stir.  Add the shredding chicken back to the sauce, cover and simmer for 5-10 minutes until the mixture has thickened.

TIPS:
- Due to the mild taste of the dish, it tastes especially good over jasmine rice.
- Feel free to add mushrooms or asparagus.  You could even try peas and carrots!

ENJOY!!!!


Wednesday, August 8, 2012

::PLUCKED FROM PINTEREST::

This week the team at CELEBRATE did some overtime cruising one of our favorite websites, Pinterest!  Here is the cream of the crop:

1.) Find a dark colored t-shirt and a cool icon (for example, the solid silhouette of a moose).  Affix a cut-out of the icon onto the shirt and mist/spray with bleach.  This will create a fabulous negative space print of the cut-out!  FYI, black shirts bleach orange so choose your color wisely.


2.) Put marshmallows in your brown sugar to keep it soft!


3.)  Don't throw away the plastic sprinkle top to the Parmesan cheese or the round cardboard top to a box of salt!  Both fit perfectly on mason jars!  The possibilities are endless!  We like using them for powdered sugar, glitter, or even rock salt!

4.)  Use your waffle iron for cooking more than just waffles!  You can make wonderful, crispy hash browns, small cookies, or even cinnamon buns!  

5.)  Use a glue tip/cap on a acrylic, craft,  paint bottle to make painting lines a breeze!


6.) Maximize your closet space (and give yourself an excuse to go shopping) by using soda tabs to double hang items.  Slip the first hole of the table over the wire neck of the first hanger and than you can hang a second hanger from the second hole.


6.)  Instead of dribbling your apples with lemon juice to prevent browning, try spraying them with orange juice in a spray bottle!  This will prevent the browning and have a less harsh bite than the lemon juice!


7.) Use chalk to pre-treat oil stains on clothing before washing.   The chalk helps to dry the oil.