Total Pageviews

Showing posts with label drill. Show all posts

Sunday, June 2, 2013

Experimenting With Garden Whimsy!


 Last year, I decided to experiment with ways I could make my garden look a little more whimsical.  It was really to distract people from the weeds I wasn't ready to pull.  I started by buying a piece of 1/4 inch plywood at my local hardware store.  Then I drew some funky designs and cut them out using my band saw.  This was pretty work intensive to say the least.  After they were cut out, I painted the designs with acrylic craft paint and when I was finished, I screwed them onto a piece of  2x1 furring.  Unfortunately, I didn't leave a piece of the support showing at the top so when I tried to hammer them into the ground it was very difficult not to wreck the art work I had just created.  I also used a poly clear coat to help them weather the elements. Needless to say, next year I got wiser!


This year, I went to my local garden supply store and purchase pre-fabricated wooden stakes which come in various lengths.  I also visited my local arts and crafts store and picked up pre-cut plywood rounds to make my life easier and avoid the band saw.  (See both above)


Not having to use the band saw gave me a level of creative that I didn't experience with the previous incarnation.  It allowed me to add funky, geometric backgrounds and fanciful florals to my designs. 


 Notice that this time I left a "hammering" knob at the top of each so I could pound them into the ground easier and without ruining my artwork.  To achieve the crisp look, I outlined my work with a permanent marker such as a Sharpie.  Instead of screws to fasten the art to the posts I used small nails.  Goodbye drill!  To seal the artwork, this year I used a poly-spar (used for boats).  By making these improvements, it made the whole process faster and a lot more fun.  No more headaches!


Voila, the completed project!!!

- KATHLEEN

Wednesday, August 29, 2012

::DIY TRIVET THAT WON'T LEAVE A DIVOT IN YOUR WALLET::


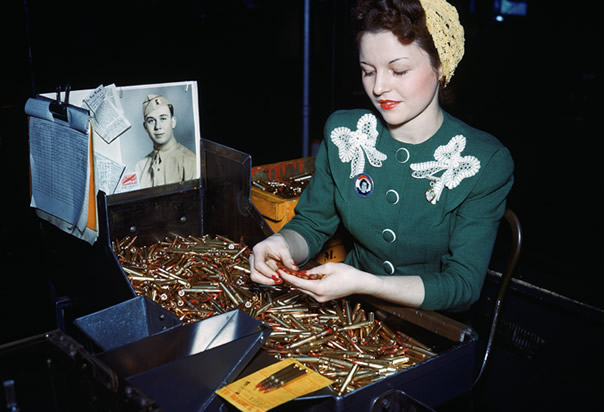
Connie as a young woman inspecting bullets during WWII The Big One!


What You Need:


  • A piece of 1"x1" square dowel or trim
  • dowels approximately the thickness of a pencil or hot dog/marshmallow stick summer clearance end caps (You can find these at discount and dollar stores where you can purchase a bag of 10-15 for $1.00 or less)
  • Power drill (cordless or corded, it doesn't matter) with a drill bit the size of your dowels/sticks
  • Wood glue
  • Ruler

  1. Cut your 1"x1" to your desired length (cut two).  Ours were approximately 10 inches.
  2. Place the two pieces of 1"x1" side by side.  Using your ruler, measure in and mark 1 inch from each end.  Next, divide the remaining space equally (ours were about 1.5 inches apart after we measure in the initial 1 inch).  Of course, if you want lager pieces or more dowels there is plenty of customization on this project.
  3. Using your drill, drill holes partially through the 1"x"  square dowel at the marks you made. (Before using your drill, measure approximately 1/2 inch up the drill bit and wrap a piece of masking tape around it.  This will serve as your depth guide to ensure all your holes are the same.)
  4. Take your dowels and cut them into equal lengths depending on how wide you want your trivet to be.
  5. Next, fill each hole on one of the 1"x1" pieces with a dollop of wood glue.
  6. Press each of the dowels into the holes.
  7. Repeat Step 5 on the second 1"x1" section.
  8. Secure the completed trivet with a large rubber band or twine to brace the pieces while it dries.
You can customize your trivet by staining (NOT painting) the dowels any number of shades before assembly.  You can use traditional stain, food coloring, colored inks, etc.  

In spite of all these directions they are super simple to make and make great presents!