Last year, I decided to experiment with ways I could make my garden look a little more whimsical. It was really to distract people from the weeds I wasn't ready to pull. I started by buying a piece of 1/4 inch plywood at my local hardware store. Then I drew some funky designs and cut them out using my band saw. This was pretty work intensive to say the least. After they were cut out, I painted the designs with acrylic craft paint and when I was finished, I screwed them onto a piece of 2x1 furring. Unfortunately, I didn't leave a piece of the support showing at the top so when I tried to hammer them into the ground it was very difficult not to wreck the art work I had just created. I also used a poly clear coat to help them weather the elements. Needless to say, next year I got wiser!
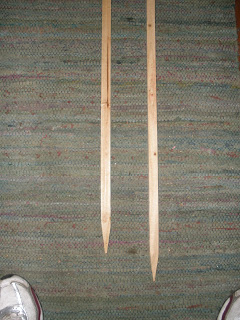
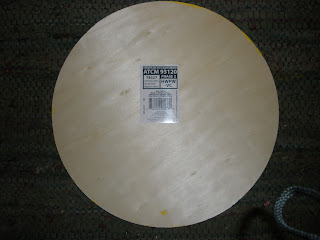
This year, I went to my local garden supply store and purchase pre-fabricated wooden stakes which come in various lengths. I also visited my local arts and crafts store and picked up pre-cut plywood rounds to make my life easier and avoid the band saw. (See both above)
Not having to use the band saw gave me a level of creative that I didn't experience with the previous incarnation. It allowed me to add funky, geometric backgrounds and fanciful florals to my designs.
Notice that this time I left a "hammering" knob at the top of each so I could pound them into the ground easier and without ruining my artwork. To achieve the crisp look, I outlined my work with a permanent marker such as a Sharpie. Instead of screws to fasten the art to the posts I used small nails. Goodbye drill! To seal the artwork, this year I used a poly-spar (used for boats). By making these improvements, it made the whole process faster and a lot more fun. No more headaches!
Voila, the completed project!!!
- KATHLEEN


No comments:
Post a Comment